As parents, we strive to provide our children with experiences that are enriching, engaging, and, most importantly, fun! One excellent way to stimulate your child's development while allowing them to explore their creativity and senses is through sensory bins. These magical containers filled with an assortment of materials offer countless opportunities for learning and play. Here's how to create and use sensory bins to foster curiosity in your little ones.What Are Sensory Bins? Sensory bins are containers filled with various materials that engage a child's senses—touch, sight, sound, smell, and even taste (with appropriate items). These bins provide an excellent platform for exploration, imagination, and motor skill development. They can also be themed around seasons, holidays, or specific subjects, making learning exciting and relevant.
Benefits of Sensory Bins
1. Cognitive Development: Children learn through play. Sensory bins encourage problem-solving, critical thinking, and imaginative play. By manipulating different materials, children enhance their understanding of concepts like cause and effect.
2. Fine Motor Skills: Activities such as pouring, scooping, and sorting promote the development of fine motor skills, which are essential for tasks such as writing, buttoning, and using utensils.
3. Language Skills: Sensory bins can expand vocabulary as children describe what they see, feel, and do. Talking about the textures and colors helps improve language comprehension and expression.
4. Emotional Regulation: Sensory play can offer a calming effect. It provides a safe space for children to express emotions, manage anxiety, and improve focus. How to Create a Sensory Bin Creating a sensory bin is easy and does not require a significant investment.
Here are the steps to get started:
1. Choose a Container: Start with a large, shallow bin or a clear plastic storage container. The size depends on the materials you plan to use and the number of children playing.
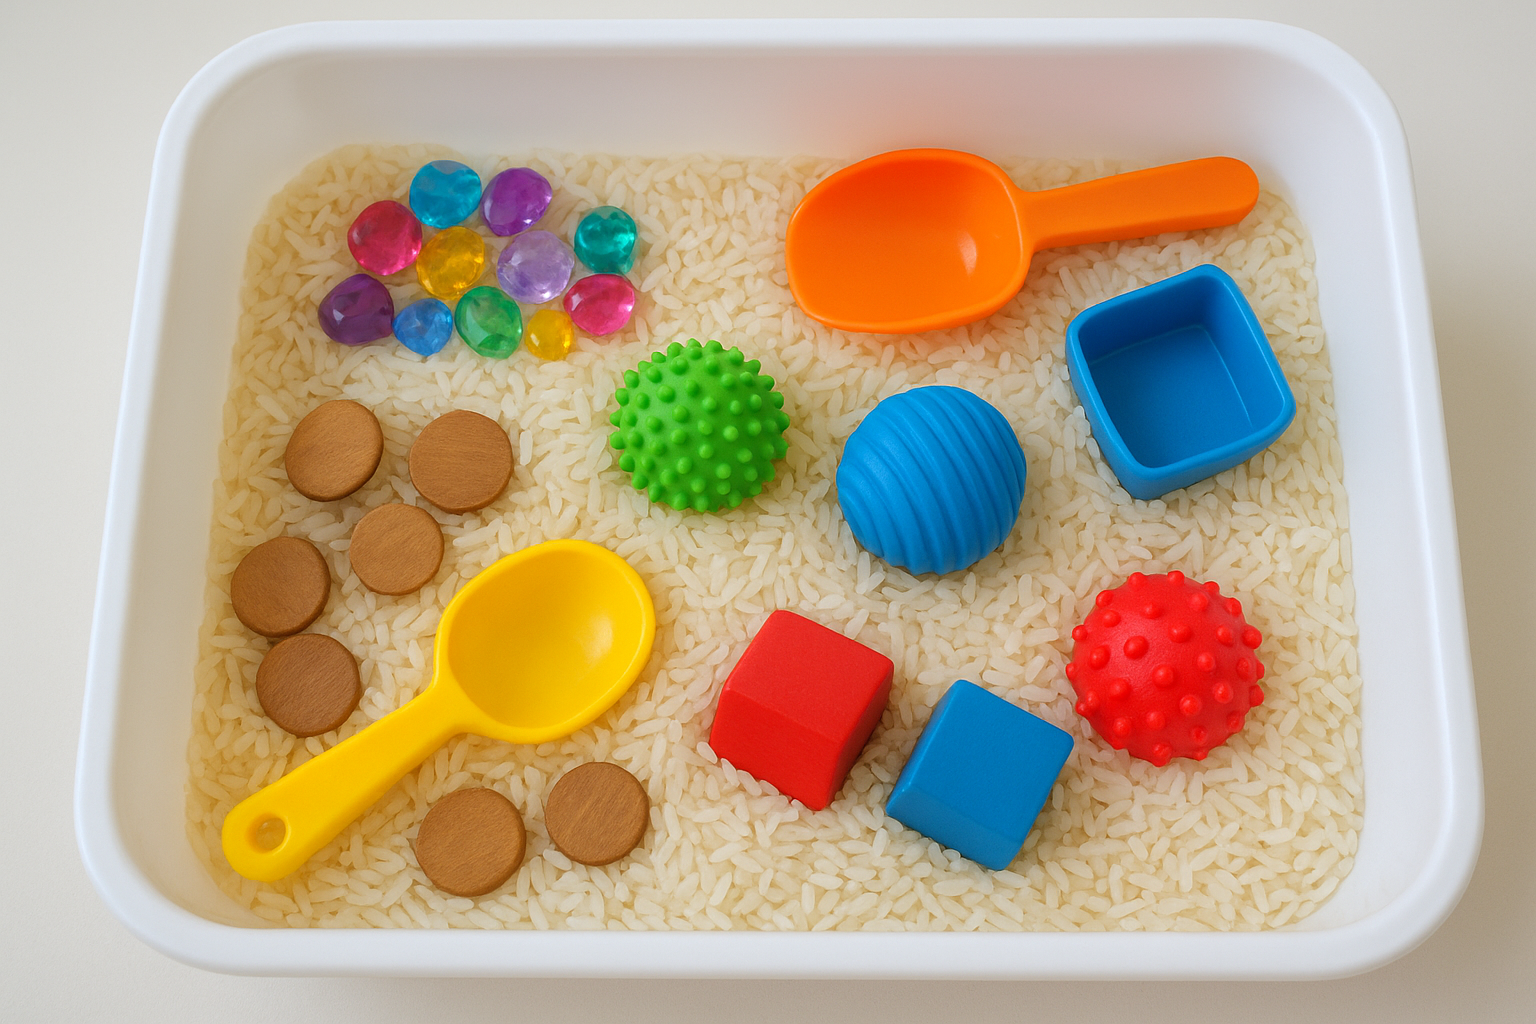
2. Select a Base Material: Think about the sensory experiences you want to provide. Here are some ideas:- Rice or Pasta: Colored or plain rice and pasta can be a great base.- Sand: Play sand offers a unique texture.- Water beads: These are soft, squishy, and fascinating to touch.- Natural items: Leaves, pebbles, and pinecones can add a natural sensory experience.
3. Add Additional Items: To enrich the experience, add tools and toys such as:- Scoops and measuring cups- Plastic animals or figures- Shovels or small containers- Funnels or strainers- Craft materials like feathers, pom-poms, and small beads.
4. Theme it Out: If you want to incorporate learning, create a themed bin. Here are a few ideas:- Under the Sea: Blue-dyed rice as the base, with sea creature figures and shells.- Garden Adventure: Brown or green base material with plastic flowers, insects, and gardening tools.- Space Explorer: Black rice with stars, planets, and spaceship figurines.
5. Supervise and Engage: Always supervise your child during sensory play, especially with small items. Participate in the play by asking open-ended questions: "What does this feel like?" or "Can you find something that is blue?" Cleaning Up Sensory Bins. While sensory bins are a fantastic way to engage children, they can also be messy. Here are some tips for an easy cleanup:- Lay down a plastic tablecloth or old sheet under the bin to catch spills.- Use a vacuum or broom to quickly gather stray materials after playtime.- Store the bin in a designated spot when not in use to prevent scatter.
Conclusion: Sensory bins offer a world of exploration for your child, promoting not only fun but significant developmental skills as well. They’re adaptable, easy to set up, and can be tailored to your child’s interests and learning goals. So gather your materials, unleash your creativity, and watch as your little one embarks on delightful sensory adventures!